Guides
Part of Eleven shapes of island day trip, and what each one asks of your schedule
Building a two-day island trip around the tide, not the clock
A two-day island plan that puts low water, beach safety and the last sailing in the right order, with a template you can fit to any short crossing.
What to take away
- Two days lets you put one activity at low water and one at high water, which a single day never allows.
- Tide pools are a low-water event, and the window is short.
- Talk to a lifeguard before entering the water anywhere unfamiliar, because they know today's conditions.
- Keep day two loose. It is the buffer that makes day one worth doing properly.
Day one: arrive and read the place
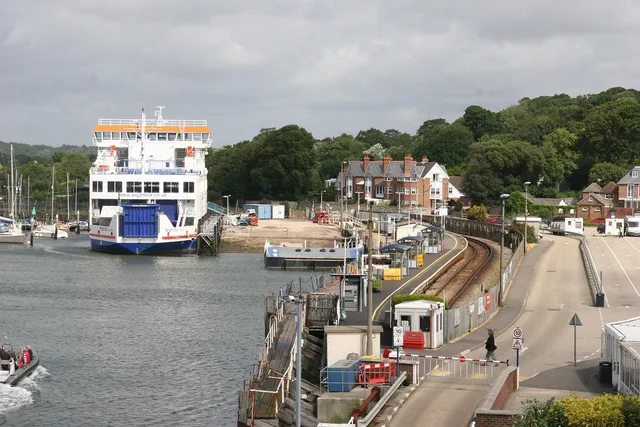
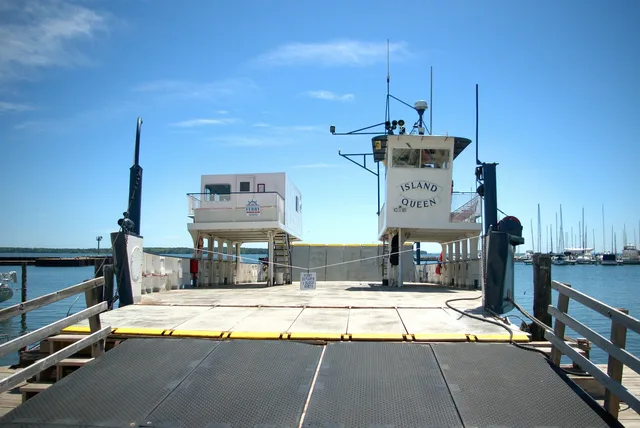
Take an early boat. An early arrival converts a two-day trip into roughly a day and three quarters, and it gives you a fallback if the first sailing is canceled.
Spend the first afternoon walking the shoreline near the landing, not driving to the far end. You learn where the water reaches, where the wind comes from, and how long things take on foot.
Find the tide times for the following morning while you still have a signal. Eat early, because island kitchens close earlier than mainland ones.
Day two, morning: the low-water window
Low water is when a rocky shore becomes interesting. A tide pool is an isolated pocket of seawater left behind in the intertidal zone as the tide recedes, typically a few inches to a few feet deep. It holds snails, barnacles, mussels, anemones, urchins, sea stars and crustaceans.
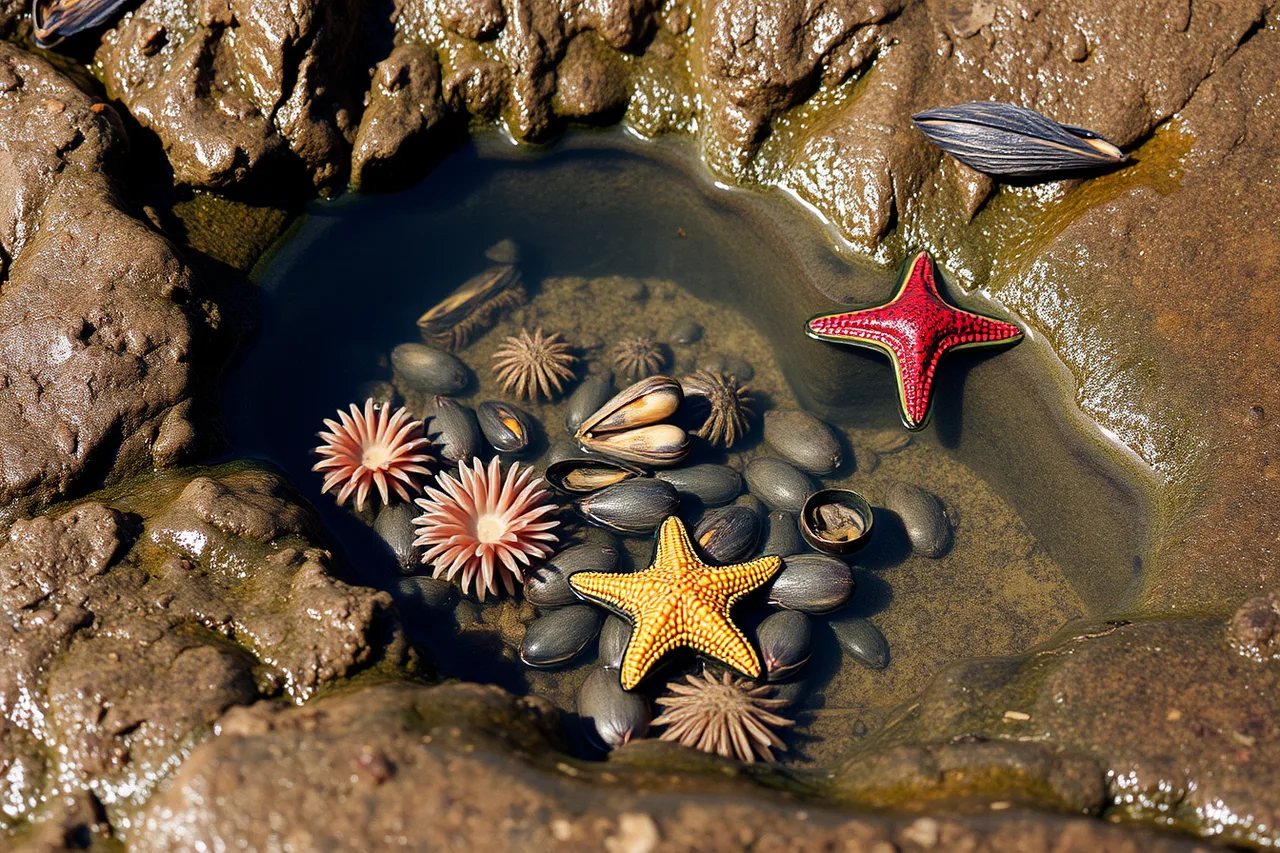
NOAA's visiting guidance is practical. Find footholds on bare rock, which is less slippery than rock colonized by algae. Put any rock you lift back exactly as you found it, leave animals and plants alone, and do not collect intertidal species, which is illegal in many areas.
Give yourself an hour either side of low water and be off the rocks well before the tide turns hard. Wear something with grip. Carry a bag for any litter you find, which is the one thing a visitor can reliably add to a shoreline.
Day two, afternoon: water, weather, and the boat
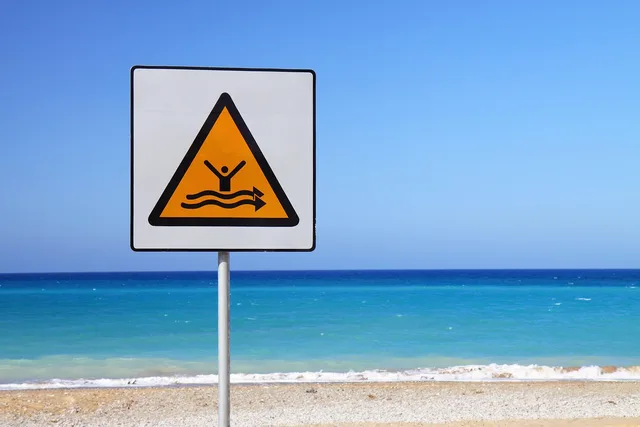
If swimming is part of the plan, treat the beach as a place with conditions rather than a facility. The National Weather Service points out that people are injured and killed every year by dangerous waves and currents at U.S. beaches. It defines the surf zone as the water between the shore and the first line of breaking waves.
Talk with a lifeguard or beach patrol before entering the water, it advises, because nobody knows current conditions better. It also cites U.S. Lifesaving Association figures putting the chance of drowning at a lifeguarded beach at one in 18 million.
Leave a clear margin before the return sailing. On a small island the walk back to the terminal is often longer than the map suggests, and there is no second boat.
The template
| Slot | Put here | Why |
|---|---|---|
| Day one morning | The crossing | Early boat, fallback exists |
| Day one afternoon | Shoreline walk near the landing | Learn the ground |
| Day one evening | Early meal, check tide times | Kitchens close early |
| Day two morning | The low-water activity | Fixed by the tide |
| Day two midday | Beach or village time | Flexible |
| Day two afternoon | Return with margin | No later boat |
Fitting it to your route
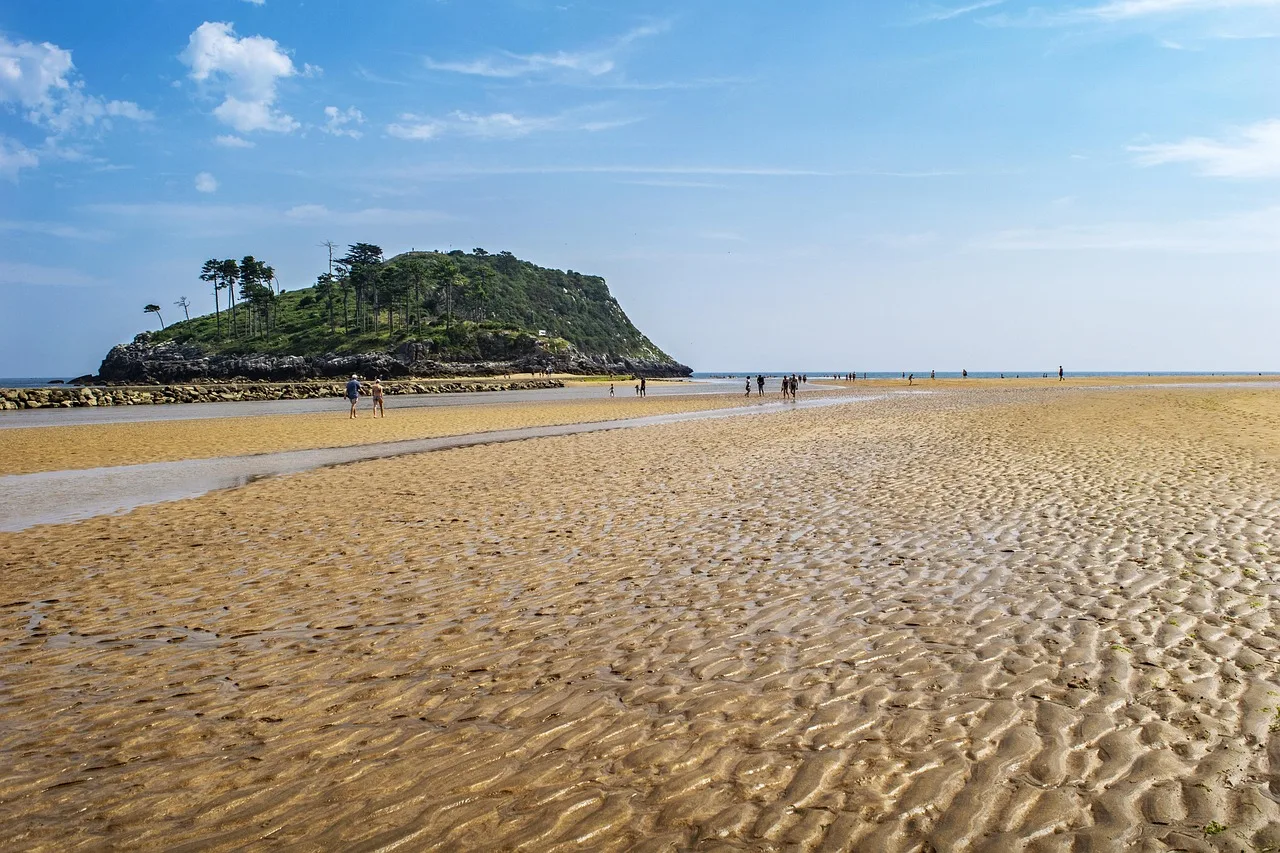
Swap the low-water activity for whatever your island rewards: a sandbar walk, a mudflat bird count, a wreck exposed at low water, a causeway crossing. The structure holds. Match it to the island type using our guide to island day trip shapes.