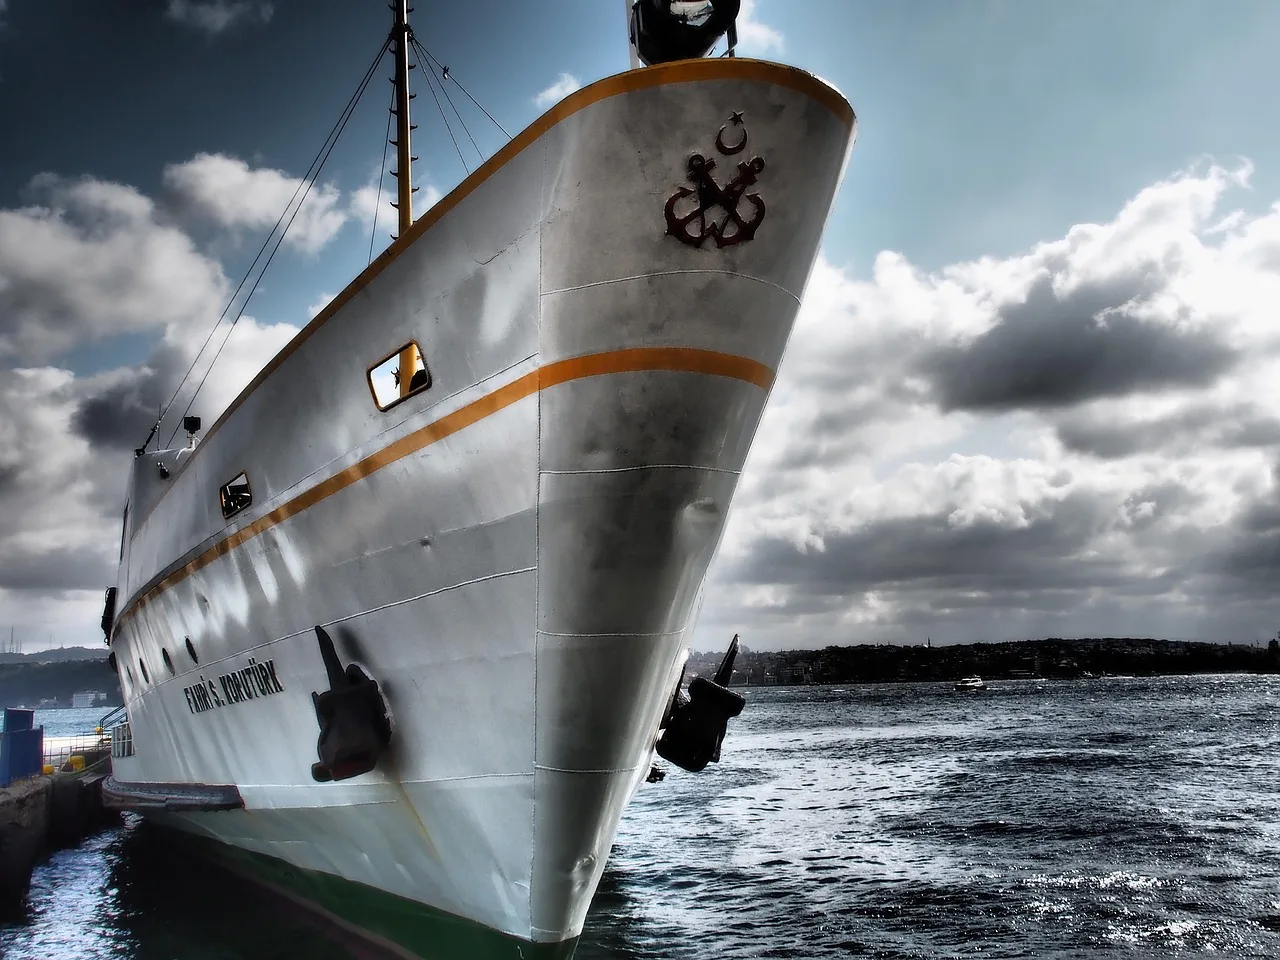
Features
Part of Five kinds of ferry route, told through the water each one crosses
Ferry route case studies field: repeatable photo checklist
This ferry route case studies field checklist repeats five views and records chart context, sun angle, tide, weather, and camera settings across crossings.
What to take away
- For a ferry route case studies field checklist, repeat the same views rather than relying on a single crossing.
- The shape of the seafloor explains where water changes color and where it gets rough.
- Light rarely penetrates far into the ocean, which is why water photographs as a surface rather than a volume.
- Build a repeatable frame set so that different days can be compared.
Shoot the route, not the day
A single crossing gives you pictures. Three crossings in different conditions give you a study, because the differences become the subject. The method is simple: fix a small set of frames and repeat them.
For a concrete example, use Washington State Ferries’ Seattle–Bainbridge Island route. Keep the direction of travel consistent, choose views visible from passenger areas, and repeat these five frames:
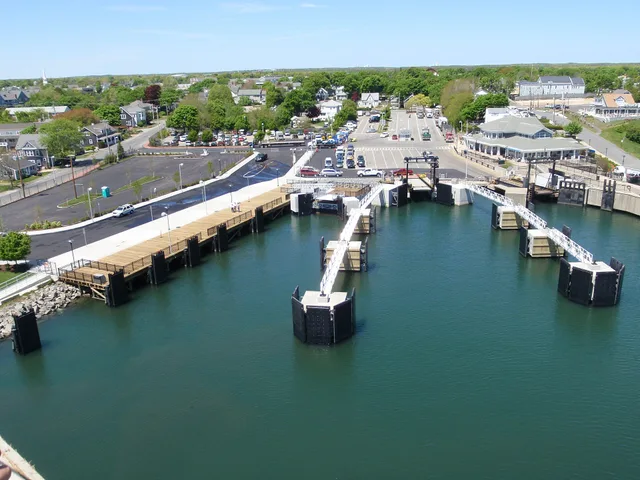
- Seattle departure:Frame the terminal and harbor as the ferry leaves, using the same shoreline or terminal feature for reference.
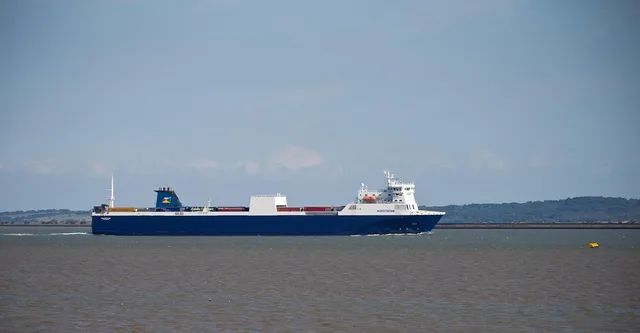
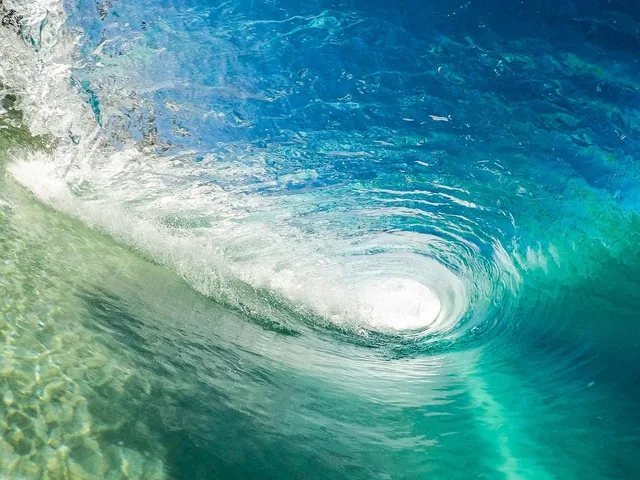
- Open-water crossing:Keep the horizon in the same part of the frame and photograph the water surface and its texture.
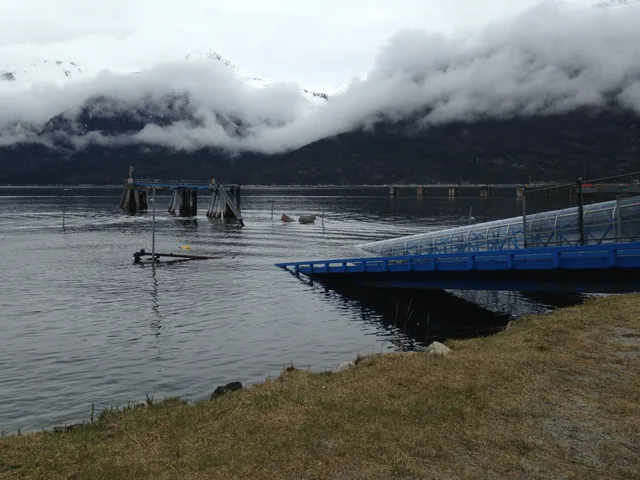
- Chart-selected channel edge:Use a chart to identify a bank or channel edge, then photograph its water-color or surface-texture transition where visible. If no such feature is visible, choose a fixed shoreline transition instead.
- Bainbridge Island shoreline:Photograph the same recognizable shoreline feature from the same side of the ferry.
- Winslow approach:Repeat a view of the shoreline and terminal approach as the ferry arrives.
Keep the framing and focal length consistent within each frame. The route’s chart will help you select a repeatable channel feature; do not assume every route has a visible shallow bank.
Five frames to repeat
- Terminal approach from same spot
- Departure relative to breakwater
- Mid-crossing horizon same direction
- Arrival ramp
- One frame looking back
Five frames repeated across three crossings tell a more useful story than fifty frames from one day.
The discipline is harder than it sounds. On the second crossing you will want to shoot something else, and on the third you will be certain the repeated frames are boring. Shoot them anyway, then shoot whatever you like afterwards. The comparison set is the work; everything else is the reward for doing it.
The seafloor explains the surface
Much of what a camera sees on the water is the bottom telling you something. NOAA defines bathymetry as the study of the beds or floors of water bodies, including the ocean, rivers, streams and lakes. It originally meant depth relative to sea level, and now means submarine topography, the depths and shapes of underwater terrain.
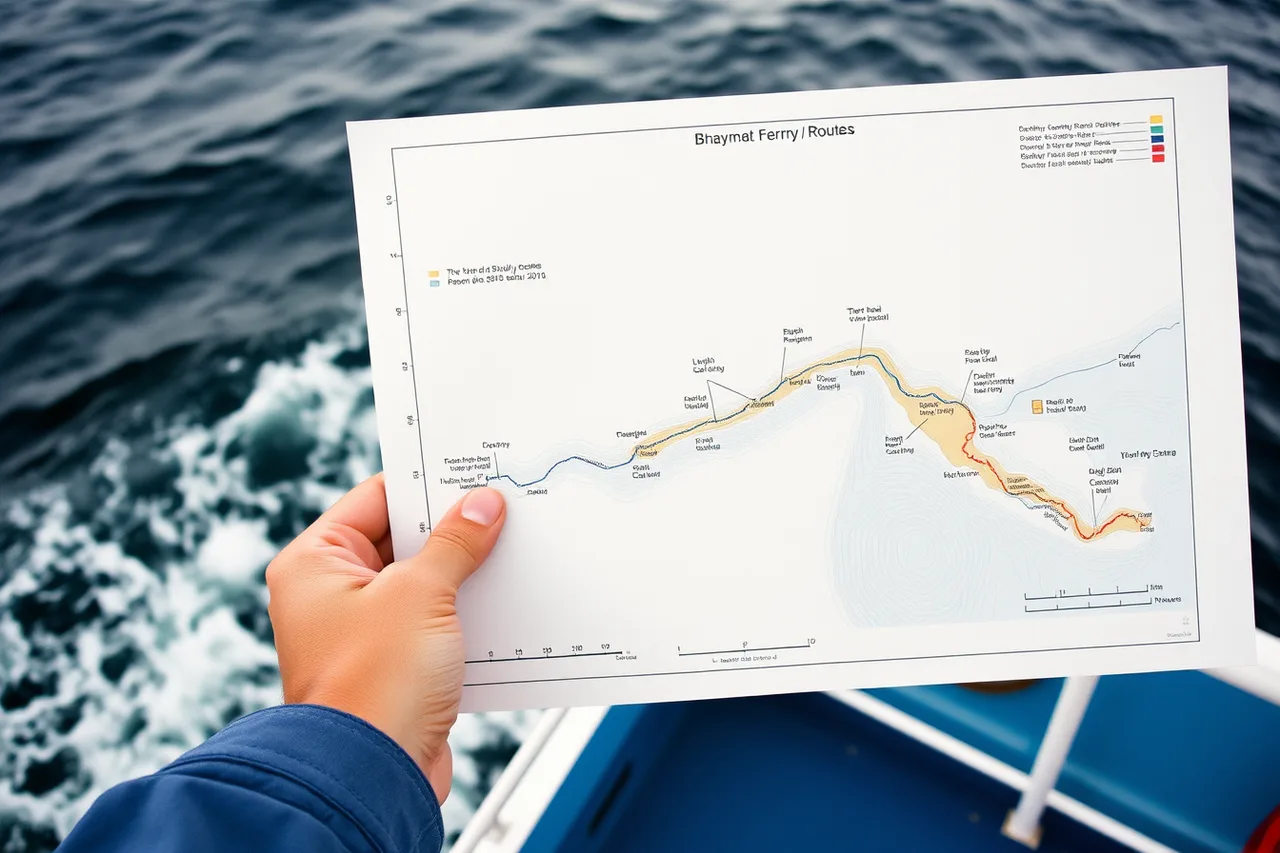
Bathymetric maps show that terrain the way topographic maps show land, with relief depicted by color and depth contours called isobaths. Bathymetry is described as the foundation of hydrography.
Check a bathymetric chart of your route before you shoot. For U.S. routes, use NOAA ENC Viewer to inspect nautical charts and NOAA Bathymetric Data Viewer for bathymetric data; U.S. Chart No. 1 explains chart symbols. Shallow banks and channel edges can show color changes, rougher surface, and seabird flocks. Those frames are predictable, so you can mount the right lens before the boat arrives, not after.
Upwelling and storm season can alter surface color and texture; treat them as conditions to record, not guaranteed photo subjects.
Why water photographs as a surface
There is a physical reason the sea reads as a plane, not a volume, in most photographs. NOAA explains that light may be detected as far as 1,000 meters down under the right conditions, but there is rarely any significant light beyond 200 meters.
The ocean is divided into three zones by depth and light level. The upper 200 meters is the euphotic or sunlight zone.
From a deck you are photographing the top of that zone and mostly its reflections. That is why polarizers change the image so dramatically, and why the interesting variation is in surface texture, color shifts over shallow ground, and what the light is doing above the water rather than below it.
Practical notes for a route study
Keep a note of the sailing time, direction, weather, tide stage, and sun position—front, side, or back lighting—for each crossing. If you use a tide prediction, note the station and predicted time; NOAA Tides & Currents provides U.S. tide predictions. Shoot the same focal length each time for the repeated frames. Resist the urge to improve the composition on the third pass; consistency is the point.
A usable log entry includes the route and direction; date and sailing time; frame number and landmark; chart feature; weather; tide stage and prediction station; sun angle; focal length; shutter speed; aperture; ISO; exposure compensation; and polarizer use and orientation. Record the settings you actually use rather than forcing identical exposure when the light changes.
Pack a camera and lens, a polarizer, a lens cloth, and splash protection. On a moving ferry, choose a shutter speed that limits unwanted motion blur, adjusting aperture or ISO as needed; record those choices so you can interpret differences between crossings.
For deck-photography mistakes, see our ferry deck photography notes; our ferry route types guide describes route archetypes worth choosing for a study.