Features
Part of US Ferry Travel: Planning Around Tides and Marine Forecasts
What to carry on deck for a US ferry crossing, and why
Photographer's field list for U.S. ferry crossings: what to carry and what to watch for when you photograph from a ferry deck, fog, spray, low tide foregrounds.
What to take away
- A ferry deck is a moving, wet, windy platform. Pack for the platform first and the picture second.
- Fog is the single most common reason a crossing produces nothing usable, and it is a genuine hazard rather than a mood.
- Low water exposes foregrounds that are invisible at high water, and the timing is published in advance.
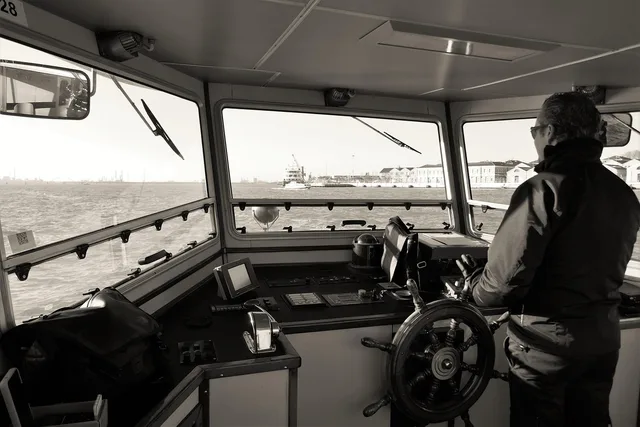
- Ask before you point a lens at crew, at bridge equipment or at other passengers.
The kit that survives a crossing
Salt spray reaches further than most people expect, and it does not evaporate cleanly. Anything that goes on deck should be something you are willing to rinse afterward.
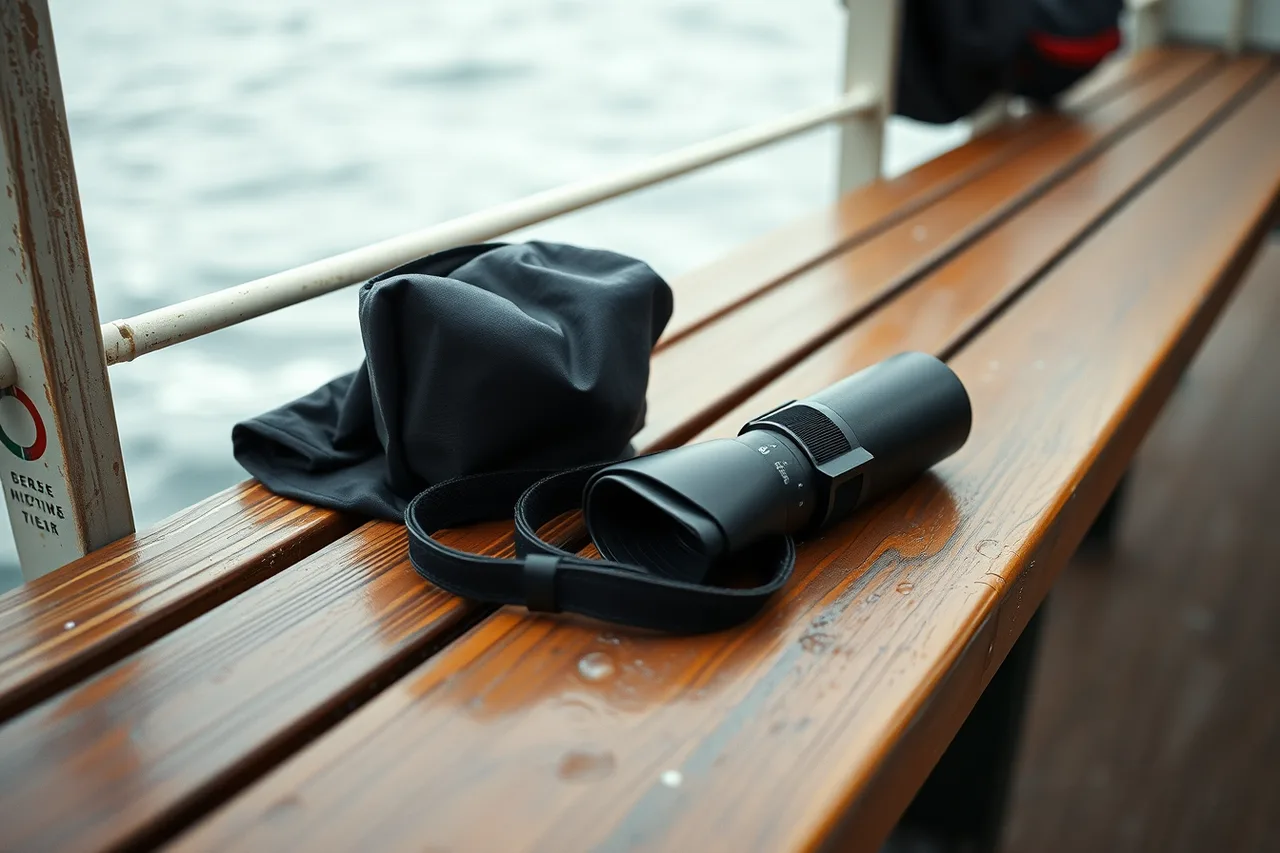
- A microfiber cloth in a sealed bag, plus a second one you have not used yet.
- A lens hood, which blocks spray at least as often as it blocks light.
- A wrist or neck strap that is actually fastened. Rails do not catch dropped gear.
- One spare battery kept warm in an inside pocket, because cold decks drain them fast.
- A dry bag large enough for the camera body.
Leave the tripod behind on a short crossing. The deck transmits engine vibration straight up the legs, and on a crowded boat it is a trip hazard. Brace against a bulkhead and raise the shutter speed.
Fog is a condition, not a filter
Fog makes beautiful frames and ruins entire days, sometimes on the same crossing. The National Weather Service is blunt about the risk: dense fog is hazardous to mariners, drivers and aviators alike, and its guidance on fog safety notes that restricted visibility contributes to travel accidents every year and drives weather-related delays.
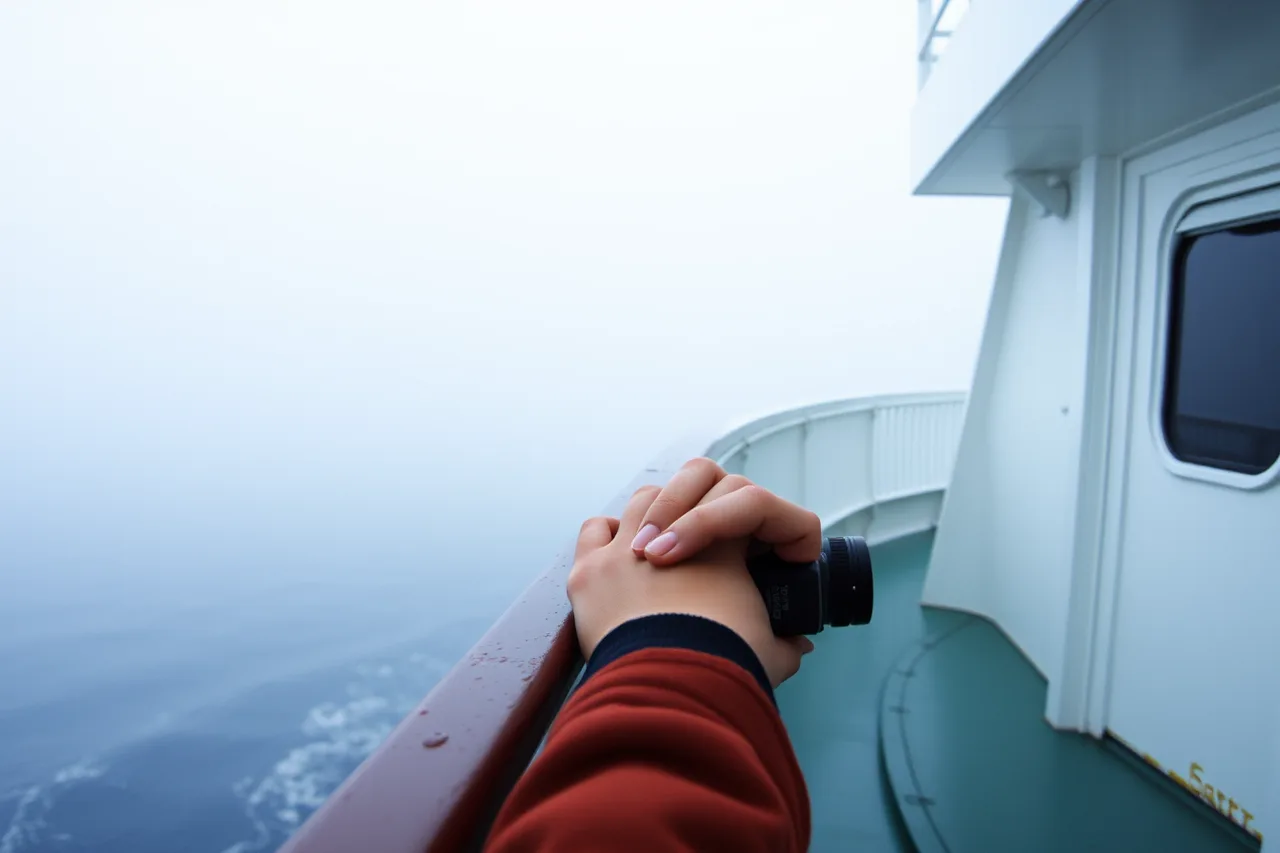
Three practical consequences follow. Autofocus struggles without contrast, so pick a manual point on a rail. Meters read fog as brighter than it looks, so expect to add light. And a delayed sailing is a real possibility, so do not build a whole day around one departure in fog season.
Time the shot to the water, not the clock
The most useful planning move a coastal photographer can make is to check the tide before choosing a departure. NOAA's guide to finding tide and current data points to predictions for more than 3,000 locations, generated up to two years ahead.
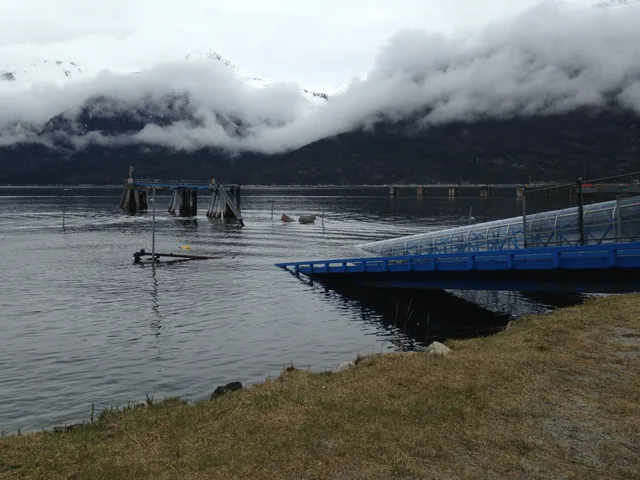
Low water uncovers pilings, weed lines, mudflat texture and the barnacle band on a jetty. High water lifts the deck, changes your eye level over a seawall and floods those same foregrounds. Neither is better. They are different pictures, and only one is available on any given sailing.
A shot list worth writing down
Working from a list beats hunting, because a crossing gives you a short fixed window. Consider the departure sequence, the wake as the boat clears the breakwater, the far shore compressed by a long lens, crew hands at the ramp, and the cabin in available light. Six frames is a good crossing. Fifty is a memory card, not a set.
Note the light direction relative to the route before you sail. On a crossing that runs west in the evening, everything on the port side is backlit and everything to starboard is flat. That single fact decides which rail you stand at.
Manners on a working boat
A ferry is transport for people around you, so do not block a stairwell, a muster point or a doorway for a frame. Do not photograph crew at work without asking, and accept a no. Drones are restricted or banned outright on many vessels and in many harbors, so ask the operator, not assume.
Our practical guide to U.S. ferry travel sets out how to build the trip.